![]()
Well alright then. Let's get started! You're going to need a few things first. I'm cheating and using a chocolate tempering machine. You may temper it the traditional (non-cheating) way. How to temper chocolate? Well. I'm not going to try to explain it here, mostly you should look it up. Someday maybe I'll do a tutorial on that - but don't hold your breath. I hate doing it, and that's why I paid $400 for this lovely piece of machinery. You can cheat, too, and use candy melts. But they taste like chocolate candy, not chocolate, and everyone will know you cheated. If you can, work on a cool day with less than 50% humidity. This is not a summertime project, unless you've got kickass air conditioning. 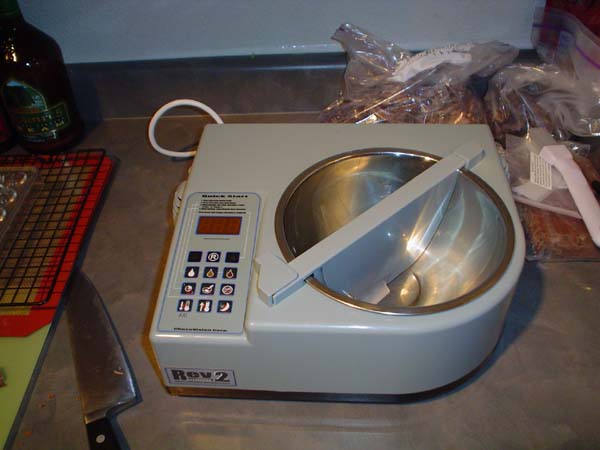 You'll need some chocolate. Duh. I'm using milk chocolate for this project, mostly because I hate it and I know I won't be tempted to eat any. You should chop it into pieces, but leave a couple for the seeding. More on that later.  You'll also need a mold to make your chocolates. You can really use anything smooth (bowls, cups, your barbie doll) to mold chocolate from, but for our purposes today, we're using a standard candy mold. I've got this really really nice one that I paid twenty dollars for, but you can get some really inexpensive ones from a craft store. But they're wobbly. This is my favorite shape for chocolates. 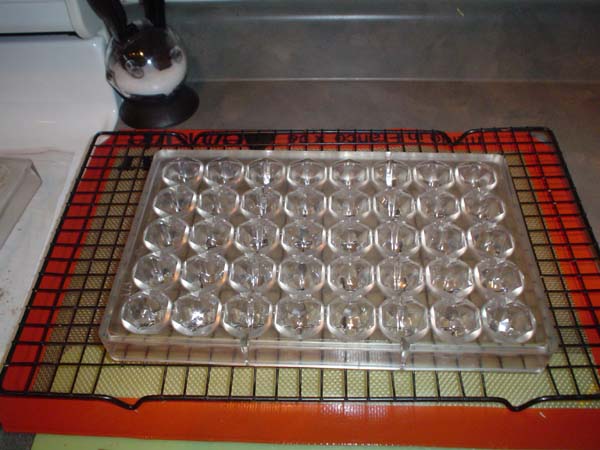 You're also going to need a wire rack, a knife to cut the chocolate to bits, and something to put under the rack to catch the melted chocolate. Waste no chocolate; it can be retempered and used again when we're done with it. 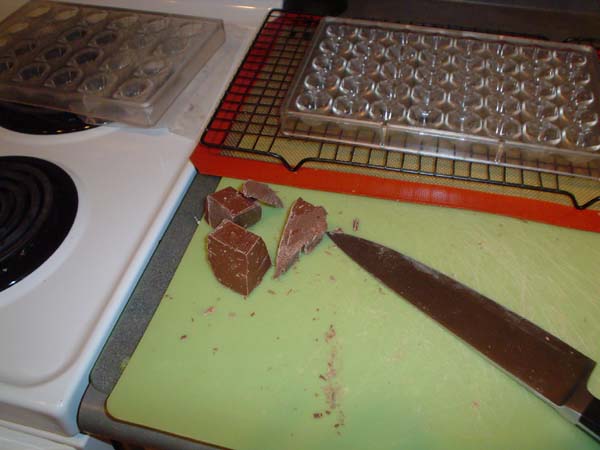 OK! The chocolate goes in! The machine is started. The first stage of tempering is the melting. We're going to bring the chocolate up to 115 degrees F and hold it there for 5 minutes. Or you can bring it up to 120, and by the time it cools to 115, it will have been about 5 minutes. The purpose of this is to melt out all of the crystals that are in the chocolate. Yeah. We're dealing with molecular science, here. Chocolate is a complicated beast. We want to get rid of all of the crystals, and bring in only the Beta crystals. Trust me. Other crystals will screw up all this lovely chocolate and we'd have to remelt it and start again.  Oh yeah. You're gonna need a spatula, a scrapey thing, and a towel. Chocolate is messy business, and unless you're the only one who's gonna eat this, you should avoid licking the stuff off your fingers. No one wants to eat your spit. That's just gross. Remember when Willy Wonka threw a fit because Augustus Gloop fell into the chocolate river? Yeah. It's like that. 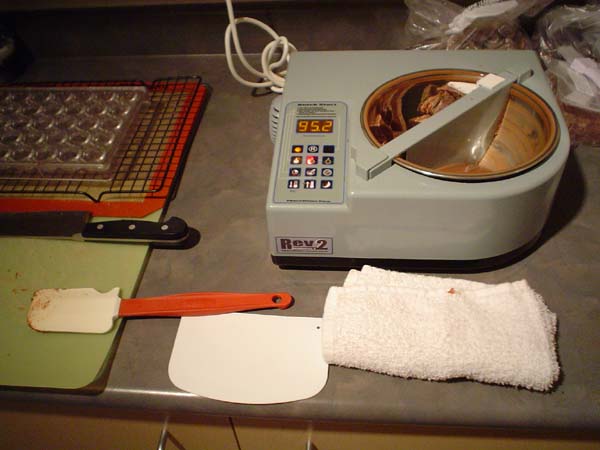 The chocolate has been tempered - my machine tells me when to throw the seed chocolate in and when to pull it out. The purpose of seeding is so that you breed the right kind of crystal by introducing the proper ones into the mix. Kinda like building a new housing development and moving young suburban couples with 2.5 kids and a dog into it, so that the insidious criminal element doesn't get the wrong idea about what kind of neighborhood it is. Beta crystals only. All the rest of you just keep moving. So anyway. Now that the chocolate is ready, it gets poured into the mold. Fill each cavity all the way up. 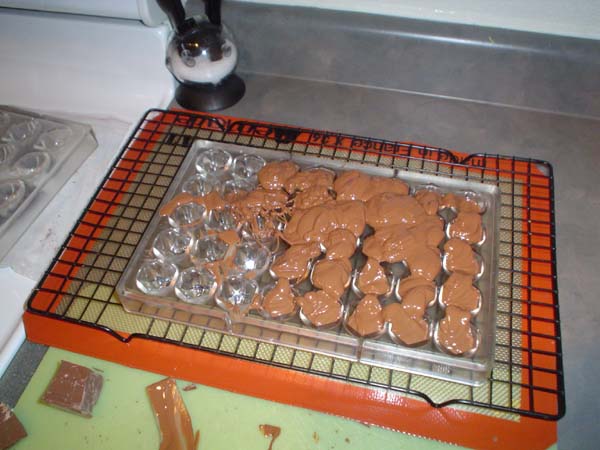 Use the scraper to smooth the surface, and to push the chocolate into any cavity that didn't get filled on the first pour. But make sure they're all full. THEN comes the fun part! Bang that sucker on the counter top to dislodge any bubbles. You may have to bang kinda hard. Bubbles in the shell make the whole thing look really crappy and amateur. 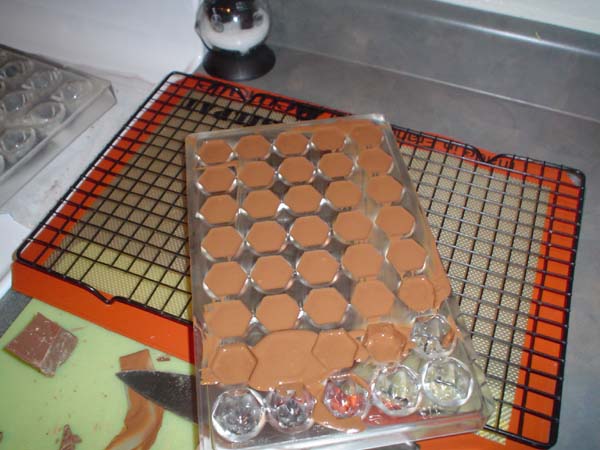 Then, once you've knocked all the air bubbles out, turn that puppy over onto your rack. Tap it a little, to make the chocolate come out. The idea is to leave a thin shell of chocolate clinging to the mold, not a huge thick skin. 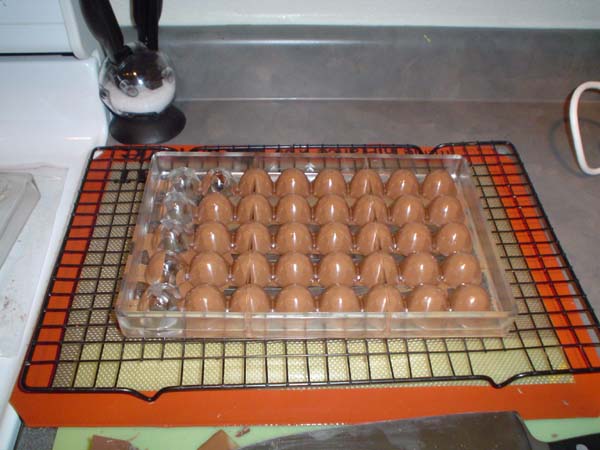 mmmmm... Lookit all that chocolate. Now. Leave it alone until the chocolate sets up a bit - you'll know it's ready when you lift it up and the rack kinda comes with it. You want the chocolate no longer liquid, but still a little pliable. Perfectly tempered chocolate is hard and snappy when dried - and if you've tempered this right and left it to dry completely, you'll be prying that rack off with a spatula later and destroy your work. No one wants that. 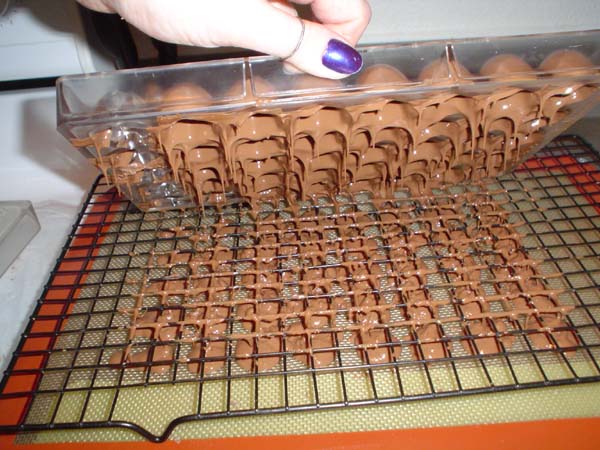 Once it's dried up a bit, and still retains its shape but is pliable, turn the mold over and scrape the top of your mold clean. It will leave nice edges on your mold there, all the chocolate in the cups and none on the top. it should look like the bottom right, not the top left. 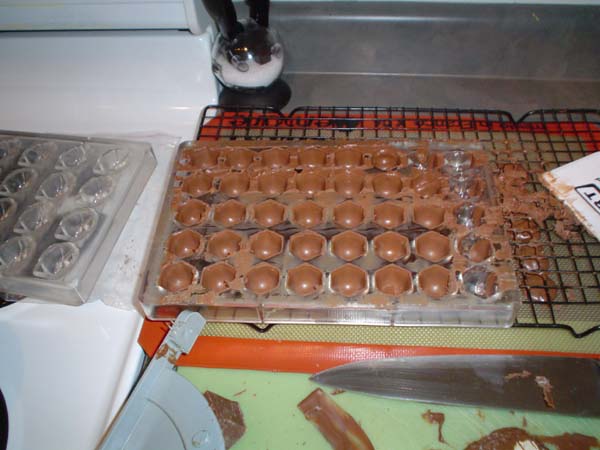 Done! Feel free to pull out any little bits that fall into the cups. It should be set up enough now that you won't hurt it. Put these somewhere and let them set completely. Don't be impatient, you've come this far. 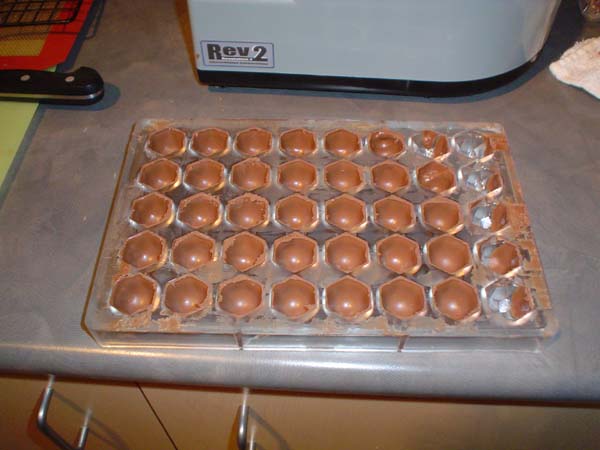 You can see I didn't temper quite enough for the whole tray. This is a test only, I didn't want to use up a whole lot of chocolate. 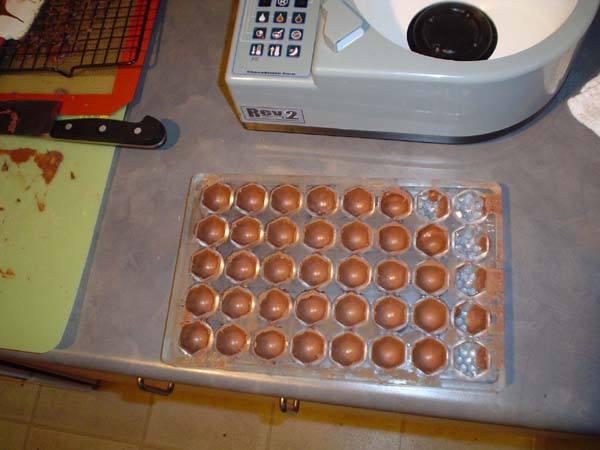 Now for the filling!! Yay! You can put darn near anything in a chocolate. I'm using caramel sauce. For your first try, use something a little more solid, like 2 parts melted chocolate to one part cream. you can add a little liquer to that, or a couple drops of mint flavor. Anything works. Just make sure that your filling is cooler than body temperature, or you run the risk of melting the chocolate when you put it in and throw the chocolate out of temper. That's bad. 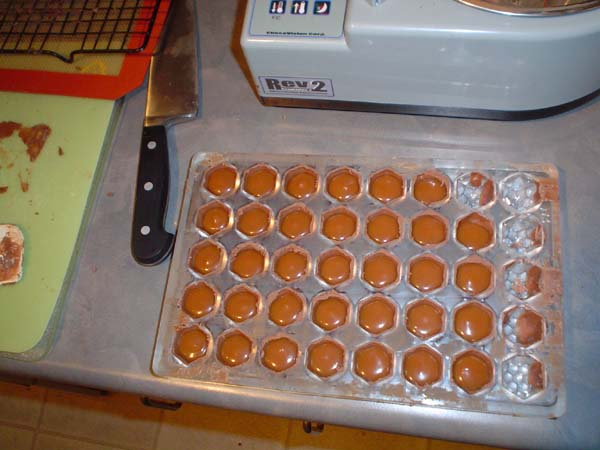 Leave a comfortable gap there. It's tempting, but don't overfill these, or the bottoms will be a pain in the butt to put on. Now wait until the filling sets up a bit. It should be firm to the touch - unless you're cool (foolhardy) like me and use a near-liquid filling. This is a sauce, so it's just not gonna get any harder than this. So I tempered the chocolate for the bottoms right away. You could even leave yours out overnight, if you wanted to. 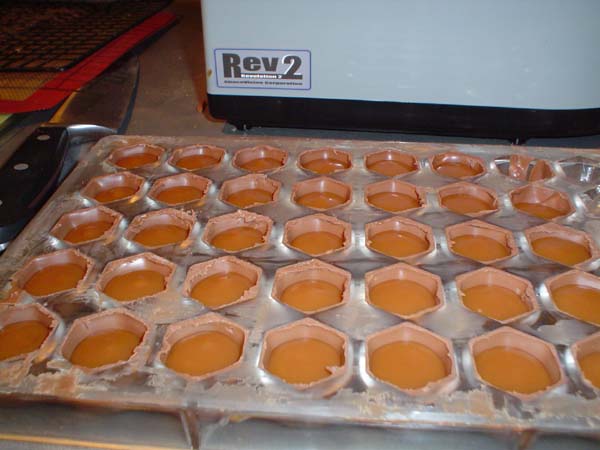 Now. Since I'm cool (stupid), I have to carefully pipe my bottoms on. You should be able to just pour it on. Same deal as the shells - pour it on, smooth it out, tap the bubbles out. Then wait for it to set up a bit and scrape off the excess. I'm using this ziploc bag as a piping bag, because sandwich baggies are way cheaper than pastry bags. And I don't feel like making a parchment bag. Lazy *and* cheap! 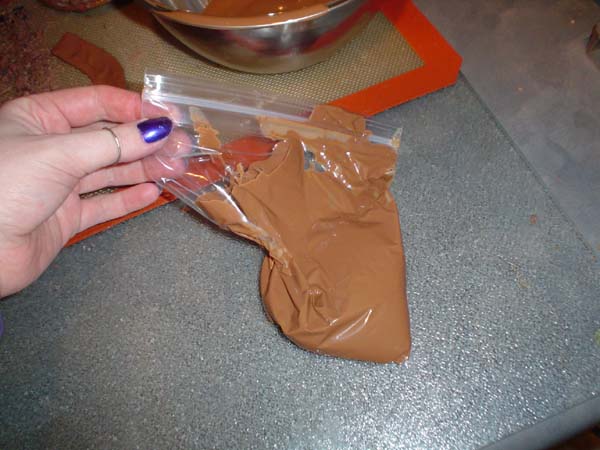 I piped my bottoms on, waited for them to set up a bit, then scraped them down carefully with an offset spatula. If you used a harder filling, you'll be able to go all willy-nilly with the scraper. On the left, my piped in bottoms, on the right, after some offset spatula love. It's important to make the bottoms even, so your chocolates sit up straight. Crooked chocolates look dumb and unprofessional. But people are always willing to eat your mistakes. Try that in any other hobby - I dare you. 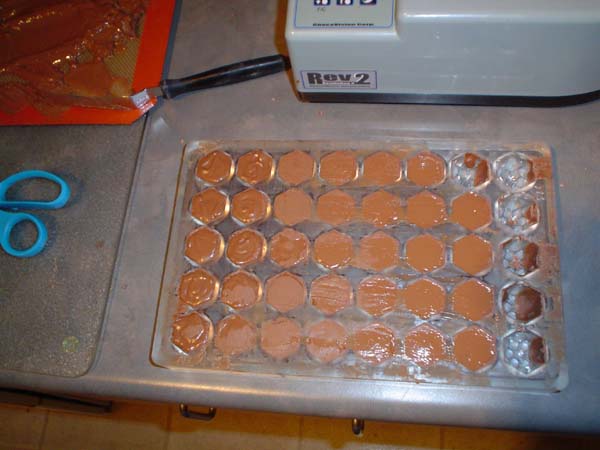 When they're all set up, stick the tray in the fridge for five minutes. This will make the chocolate contract a smidge and make it easier to pop them out of the tray. A perfect temper is important, because if it isn't tempered, it's not coming out of that tray. Turn the tray over and give it a sharp tap. The chocolates shoudl just come right out. if they don't, try the freezer for a few minutes, but not too long or you'll ruin the candy. And only tap once, collect the chocolates that fall out, and then try again, or you'll end up smashing perfectly good candies in your zealous efforts. Did I learn this the hard way? Yep. Learn from my mistakes. And don't unmold chocolates when you're frustrated. 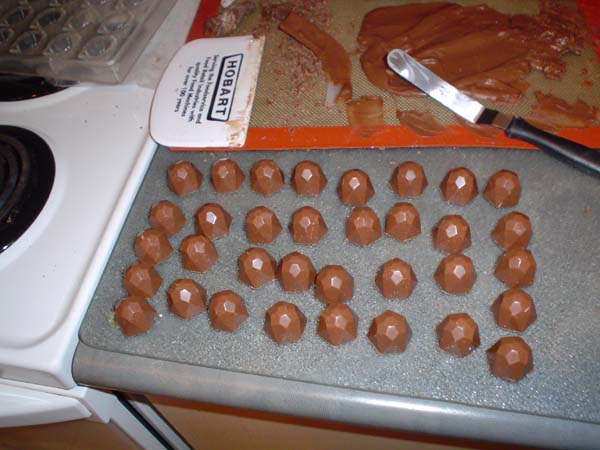 My finished chocolates! Aren't they beautiful?? Handle them with gloves on, or the heat of your skin will melt the surface and smudge them up. Yay! Now you know how to make some chocolates! They're delicious every step of the way, and people will be SO IMPRESSED when you gift them with these. It's awesome.
|
||
| Gallery |
| Bread |
| Cakes |
| Chocolates |
| Pastry |
| Plated Desserts |
| Schoolwork |
| Wedding Cakes |
| Weirdness |
| How-to |
| 12 Strand Bread Braid |
| Chocolates |
| Chocolate Mice |
| Meatcake |
| Recipes |
| About |
| Contact |
| FAQ |
| Links |